Sunday, March 18. 2012
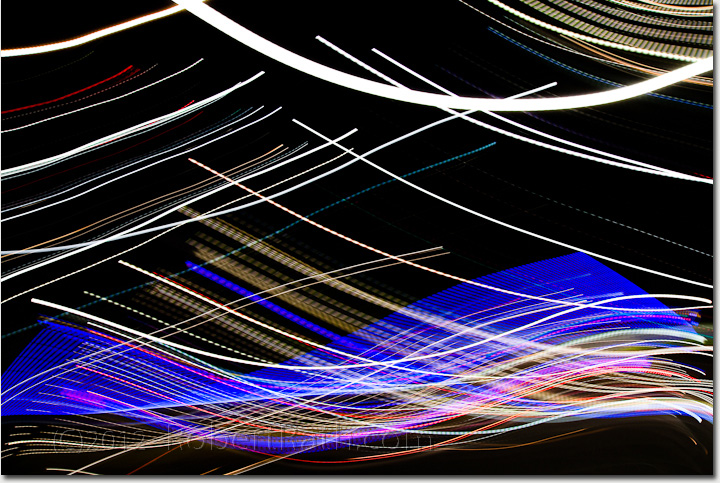
There's been quite a bit of interest lately in 'light painting', a curious form of camera blur where patterns of light are created by moving bright lights around a fixed camera during a long exposure to paint images.
Well, this is not one of them! This image is the opposite: the lights are fixed and I moved the camera around.
In fact this is probably one of the most common forms of camera blur you will see as people attempt to take photos with iPhones late at night down brightly lit city streets in various states of alchohol-induced, uncoordinated staggering.
For the record I was not under the influence of any substance other than 'fun' when I captured this image of the Rosemont Hotel in Hindley Street, Adelaide!
Photo: Robert Rath, '366 Days of 2012, Day 78 - City Light Mural'. 1 sec at 15mm FE f/16, ISO 500
Saturday, March 17. 2012

I love the fun bordering on craziness of a Dead Reds evening and I love that it's also in support of a great cause. But try as I might I just can't seem to not bring my camera!
Invariably I hide my camera in some corner and pretend that this time I have come just for the fun and the social experience. Sooner or later in the evening, however, I just can't help myself and out comes the camera to capture what always turns out to be another fantastic night.
Last night was no exception meeting some fantastic new people in including the amazing local Adelaide photographer Benjamin Liew and South Australian wine maker Dean Leibich with whom we shared a bottle of his 1971 bronze medal winning Cabernet Shiraz.
See more photos from the evening here at Dead Reds Part 1.
Photo: Robert Rath, '366 Days of 2012, Day 77 - Dead Reds Twelve'. 1/25 sec at 50mm f/5.0, ISO 2500
Friday, March 16. 2012
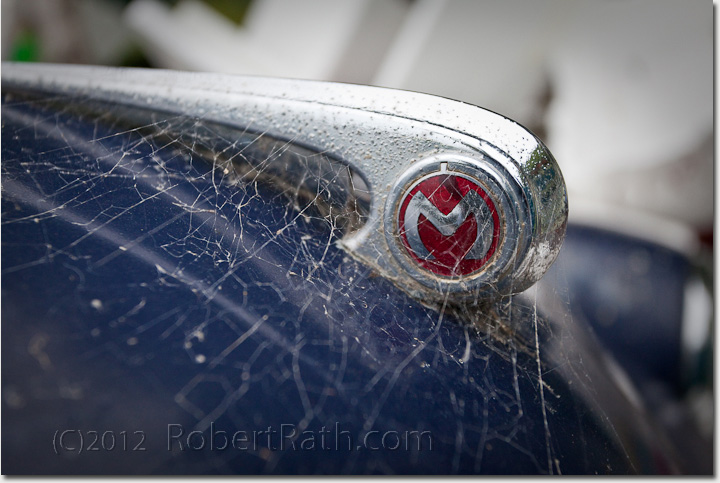
There's a car in my backyard that's been parked for a very long time.
Every day I watch the cobwebs grow a little thicker. I watch the leaves pile up on the windscreen. I cringe with dismay as the paint flakes ways and the rust takes its place. If ever TLC was needed, it was need here.
The car in this image lives in someone else's back yard. Someone else gets to watch the cobwebs grow, the leaves pile up and the paint fade away. I bet if we traded places the Morris would get the TLC it needed and the Ford would find its way to the recyclers.
Photo: Robert Rath, '366 Days of 2012, Day 76 - Parked'. 1/320 sec at 40mm f/5.6, ISO 1000
Thursday, March 15. 2012
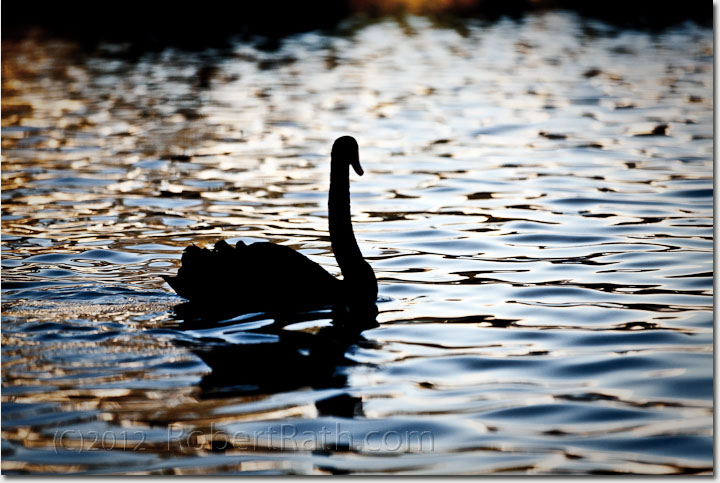
Almost without exception I find people like silhouettes. So what makes them so appealing?
I'm sure it would be fun to explore the psychology of visual perception. Relate the role starkness and high contrast has to perceptions of pleasure as a new born begins translating images into a visual world.
Perhaps I will one day but for now I'll just say I love silhouettes for their crispness, their starkness and how they make me feel and not why or how they do it
Photo: Robert Rath, '366 Days of 2012, Day 75 - Silhouette Swan'. 1/4000 sec at 200mm f/2.8, ISO 500
Wednesday, March 14. 2012
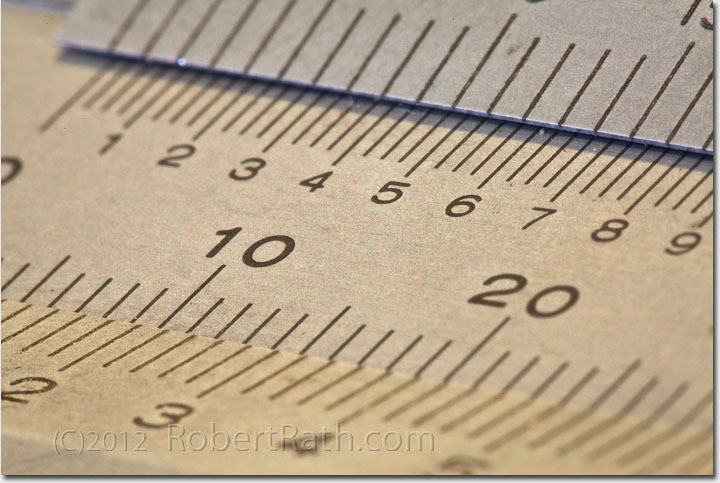
At true 1:1 macro and beyond with ordinary lenses it becomes a battle to achieve any depth of field in an image
I took a number of images over a range of apertures and with the subject at such a severe angle I found myself up at f/40.0 just to get those extra millimeters.
The combination of natural indoor lighting, a low ISO for good noise performance and an f/40.0 resulted in a long 30-second exposure - not something that would allow you to capture anything moving but just fine for my trusty old vernier that always makes millimeters matter!
Photo: Robert Rath, '366 Days of 2012, Day 74 - Every Millimeter Matters'. 30 sec at 200mm f/40, ISO 200
Tuesday, March 13. 2012
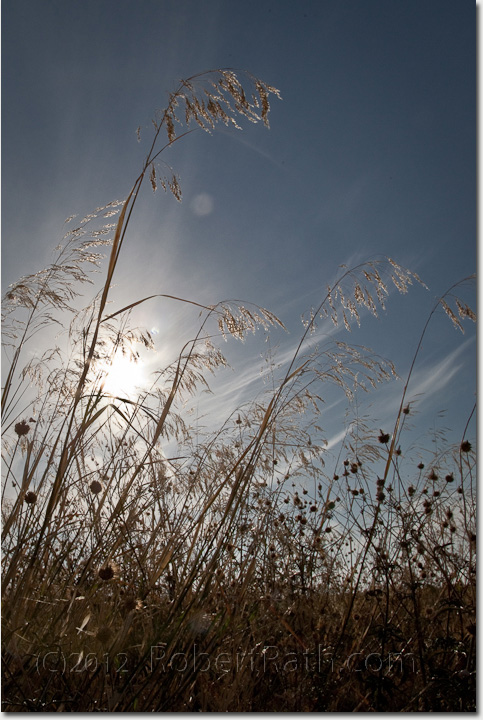
Point your camera directly at the sun and take a photo. Include some interesting subject matter if you like. Perhaps try for a nice silhouette.
If there are any quirks in your optics that you have not yet discovered, you will now.
I took a number of shots at ground level looking up through the grass into the sun. Of course I did not look directly at the sun, I just held the camera and pressed the shutter. The previews looked fine on the camera but when I got to the big screen I had hazy white dots, ghostly arcs and a funny rainbow arc out near the periphery that might have circled the entire image if it were not for the dark ground.
So now my next project will be to work out what causes these effects and what I can do to either get rid of them or make them work for me in future shots like these.
Photo: Robert Rath, '366 Days of 2012, Day 73 - Day's End'. 1/400 sec at 24mm f/22, ISO 400
Monday, March 12. 2012
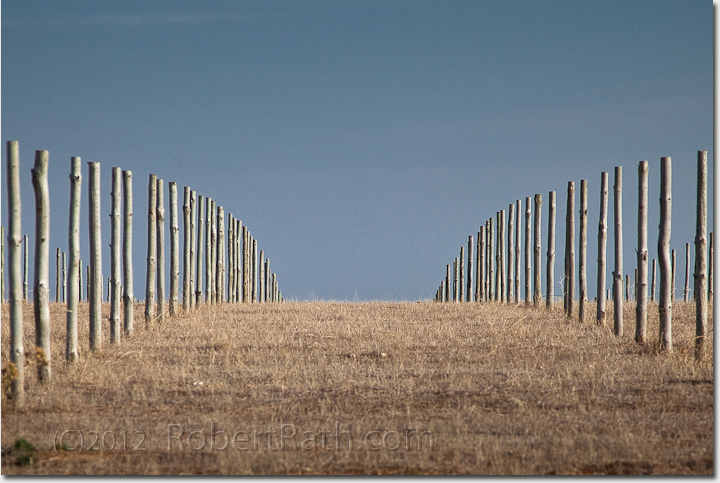
For the past few months we have done a lot of travelling back and forth from Adelaide to the Barossa Valley and every time I pass by this big field of treated pine posts I think how amazing it looks.
Standing by the roadside you notice the ordered pattern of posts on an empty field transition from tight diagonal rows through to spacious vertical and back to tight diagonals again as you scan from east to west.
As you drive past, the effect combines with the undulation of the hills to create beautiful geometries.
Tonight we just happend to be driving by when both the time of day and the sky combined to create perfect lighting. Click...
Photo: Robert Rath, '366 Days of 2012, Day 72 - Unnatural Geometry'. 1/5000 sec at 105 f/4.0, ISO 400
Sunday, March 11. 2012
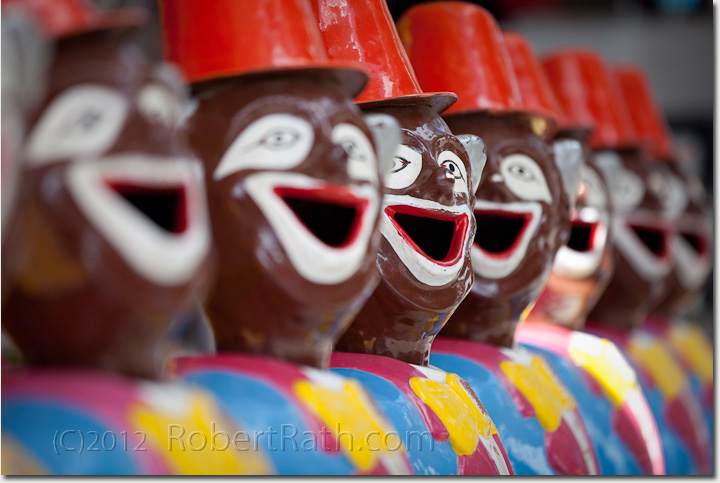 Photo: Robert Rath, '366 Days of 2012, Day 71 - Tanunda Show Clowns'. 1/800 sec at 200mm f/2.8, ISO 200
Saturday, March 10. 2012
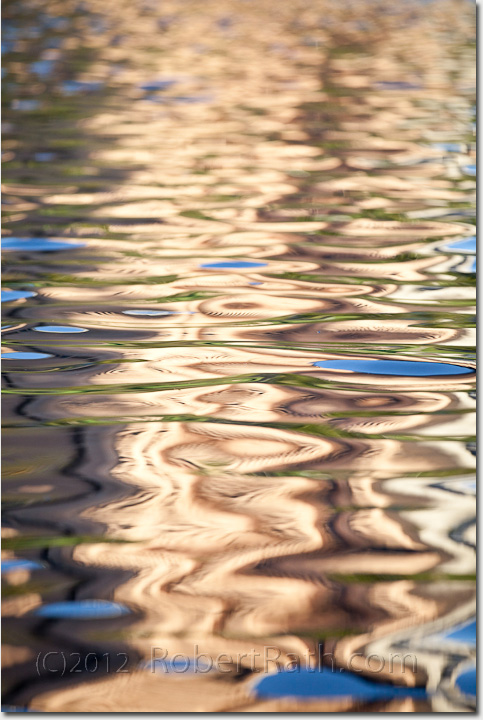
Sometime we have no real feel for just how quickly our visual landscape moves; an issue that is quickly corrected when taking photographs.
Reflections on moving water are the translation of tiny movements into hugely magnified ones. 5mm of ripple can move a tall city building 50m sideways in an instant and this in turn means very fast movements for photography.
My first attempts at freezing this reflection of a city building on the Torrens River were disappointing. I soon realised just how fast the image needed to be taken. A wide aperture, high ISO and a 1/2000 second exposure is what this one took.
Photo: Robert Rath, '366 Days of 2012, Day 70 - Reflections'. 1/2000 sec at 200mm f/2.8, ISO 1000
Friday, March 9. 2012
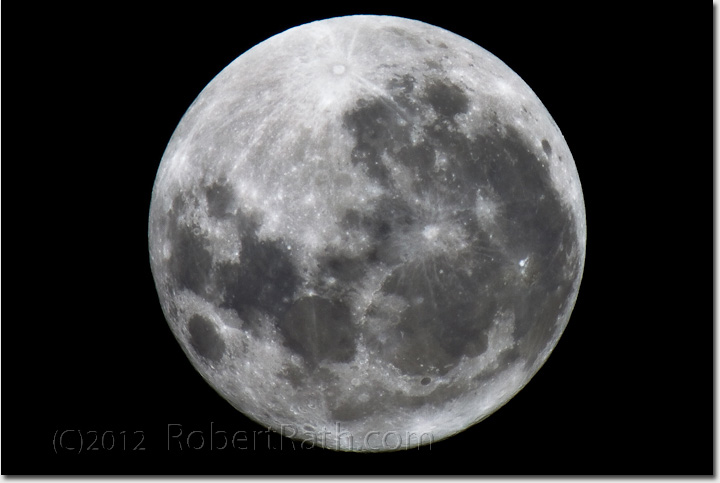
At first look there is nothing special about this image but the story behind why I took it is quite interesting.
The task was determine which combination made a better image. Either 1000mm using a 500mm F8.0 mirror lens in combination 2x converter or 400mm using a 200mm F2.8 prime in combination with the same 2x converter.
The results were quite interesting and will make good material for further investigation. The 1000mm combination certainly had the magnification but the resolving performance for fine detail was quite poor. Even when scaled down to the same image magnification of the 400mm combination the 400mm still had the edge in resolving some detail in low contrast regions. On the other hand there was a softness in the 1000mm image which was also appealing and made what fine detail was resolved look more natural.
Well I choose the 1000mm in the end but for small web content is was a line call on choice.
Photo: Robert Rath, '366 Days of 2012, Day 69 - Full Moon'. 1/50 sec at 1000mm f/16, ISO 250
Thursday, March 8. 2012
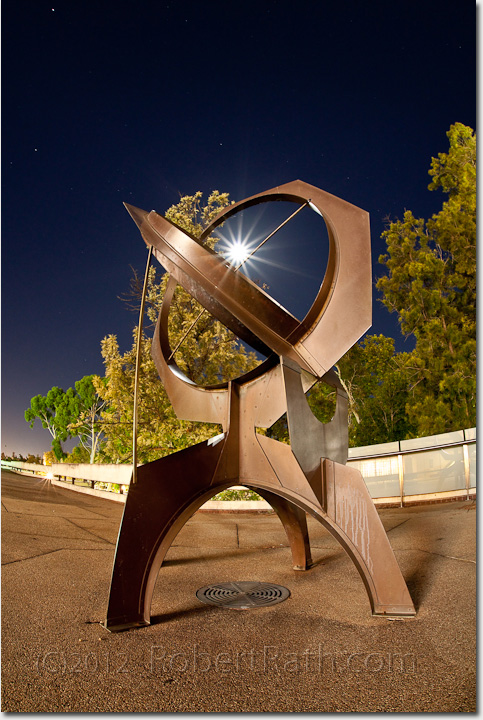
How strange to ponder the shadow cast not by the brilliant sun but the sombre moon.
Owen Broughton's Sundial scupture has become the Adelaide Festival Centre Plaza Moondial but would it tell time through the night as by day? If you would like to read some more about this beautiful sundial please visit http://www.cityofadelaide.com.au/sights/sun-dial/.
I could do the research, study the maths, perform the calculations.
I'm so certain I could find the answer that I'll leave it up to others and instead take some more photos.
Photo: Robert Rath, '366 Days of 2012, Day 68 - Moondial'. 30 secs at 15mm f/13, ISO 2000
Wednesday, March 7. 2012
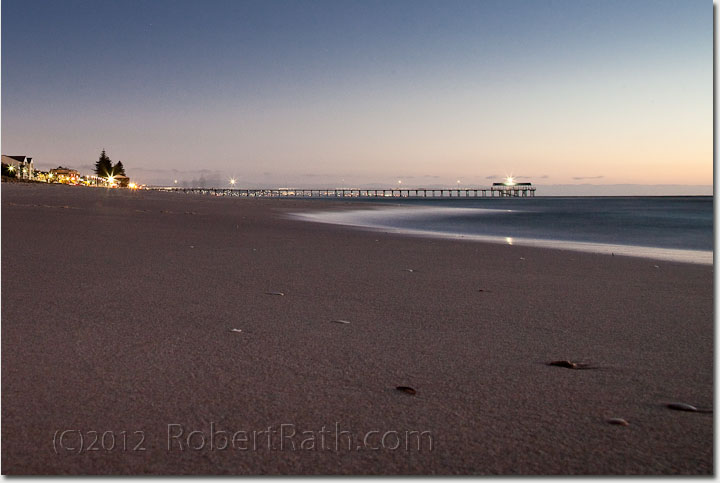
It was not the most pleasant of evenings by recent examples but we simply needed to get out of the house.
We are so lucky living near the ocean but far enough away to forget just how near. A 12 minute walk is all it took this evening with dog in tow to enjoy the sea air and the refreshing breeze. Perhaps the chill breeze had kept people away. Perhaps even the beach struggles to attract a crowd on a Tuesday night. I just don't know.
In any case this evening presented a wonderful opportunity to capture the deserted beach back lit by the lights of Henley Square, the jetty and the Adelaide suburban lights beyond.
Photo: Robert Rath, '366 Days of 2012, Day 67 - Deserted Beach'. 30 secs at 24mm f/14, ISO 200
Tuesday, March 6. 2012
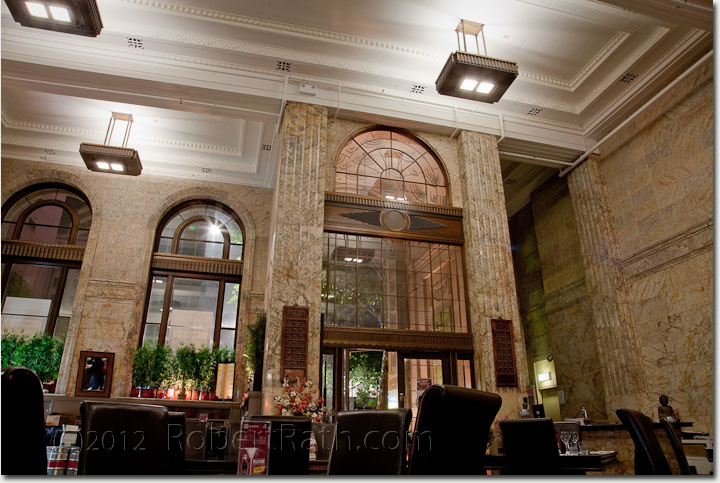
When I look around the walls and ceiling of this beautiful Adelaide tearoom I can't help but be taken back a century or more to times when this kind of grandeur was expected.
The lighting was actually darker than depicted in this image but I wanted to really show the detail in the columns , the cornices and the windows.
A gorgeous place for my birthday dinner. Thank you Jennifer for a lovely surprise.
Photo: Robert Rath, '366 Days of 2012, Day 66 - Saldechin Tearooms'. 8 secs at 24mm f/11, ISO 200
Monday, March 5. 2012
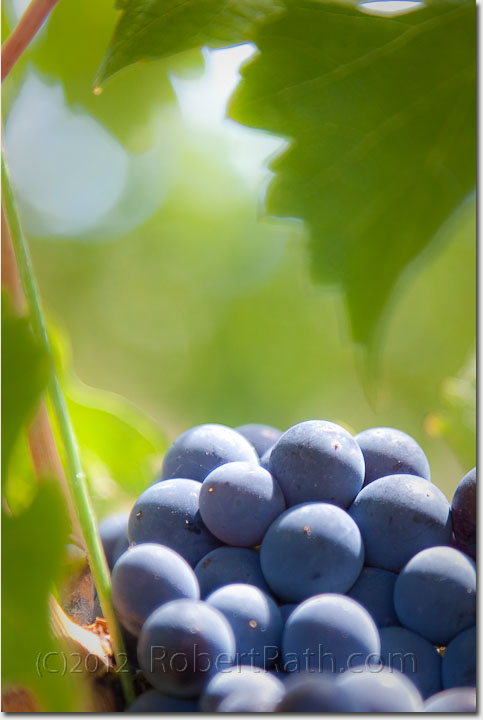
What a beautiful day to find ourselves in the vineyards of Inkwell Wines and what a privilege for vigneron Dudley Brown to to part with some of his gorgeous Zinfandel fruit for our own wine making odyssey.
The catch, well we had to pick the fruit of course! So armed with tubs, buckets, secateurs and sunscreen, Andy, Gav, Jennifer and myself took to the vines like old hands and soon had picked enough for a decent batch.
After picking Dudley invited us to sample his latest offering, the 2010 Inkling (Shiraz Primitivo) and 2010 Infidel (Primitivo) and Irina showed us the new wines being made. Ok so now we have a standard to aspire to!
Now it you did not know already, Primitivo and Zinfandel are identical grape varieties. The Italians call it Primitivo while the Californians call it Zinfandel. In any case A 'Zin' by any other name is still a Zin! Oh, and just in case our wine does not make the same league as Dudley's, we purchased a case of his spectacular wine to take home with us!
Photo: Robert Rath, '366 Days of 2012, Day 65 - A Zin By Any Other Name Is Still A Zin'. 1/200 sec at 105mm f/4.0, ISO 200
Sunday, March 4. 2012
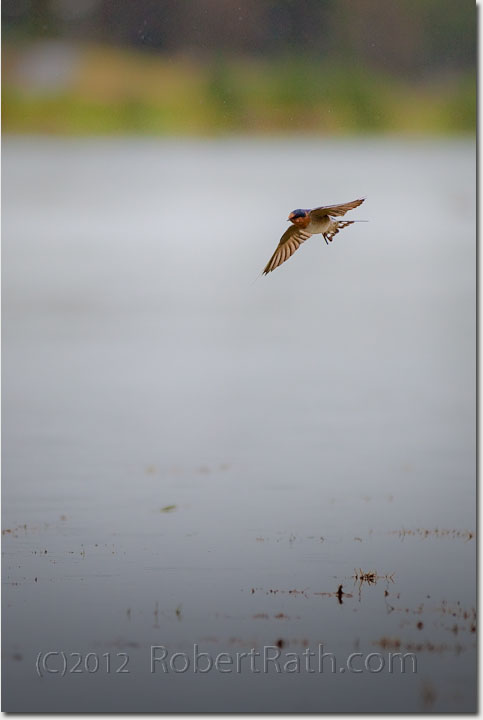
There is something magical about freezing a moment in time and then taking the time to experience it.
As I sat today watching the swallows dive and drink from the river I though how amazing it would be to capture such a moment.
In the low light I struggled with aperture, shutter speed and depth of field. I needed high speed to freeze the movement but the large aperture and shallow depth of field made focusing almost impossible. After many attempts I decided I would need to come back and try another time when I had more patience.
In the meantime I can at least enjoy this one shot I got in focus as a swallow is coming into the frame.
Photo: Robert Rath, '366 Days of 2012, Day 64 - One Tiny Moment. 1/1600 sec at 200mm f/2.8, ISO 400
Saturday, March 3. 2012

I miss the old trams...
Photo: Robert Rath, '366 Days of 2012, Day 63 - Shiny New'. 1/50 sec at 24mm f/14.0, ISO 100
Friday, March 2. 2012
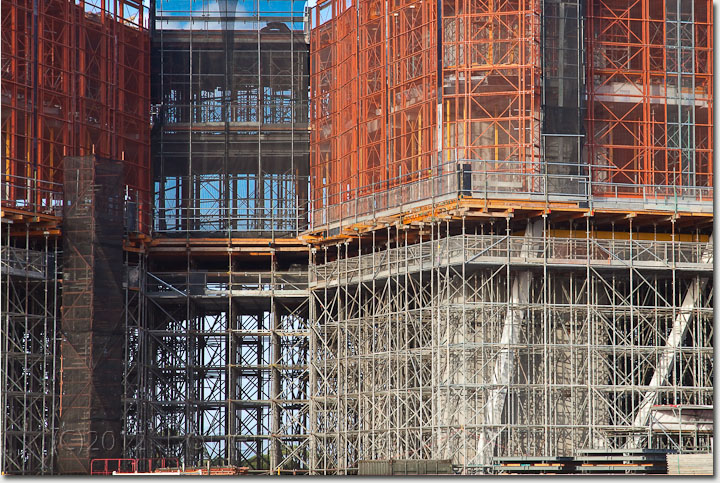
There is a wonderful skeleton of scaffolding, steel and concrete which has emerged on the Adelaide skyline at the western end of North Terrace. I say 'wonderful' not in any one sense but for many reasons.
First and foremost in the context of this image, it looks fascinating! I love the intricate construction of supporting structures surrounding an emerging new building. It reminds me of Mechano construction sets I played with as a child.
Next is what it means for Adelaide and South Australians. This new building will eventually be the new home for the inaugural SAHMRI. (South Australian Health and Medical Research Institute) and I just love what this means for the advancement of medical science and our commitment to it.
Lastly I have it on good authority that this will be one of Adelaide's most amazing architecturally functional buildings ever created. I can't wait to see it grow its skin! See http://www.sahmri.com/.
Photo: Robert Rath, '366 Days of 2012, Day 62 - SAHMRI Skeleton'. 1/125 sec at 105mm f/8.0, ISO 250
Thursday, March 1. 2012
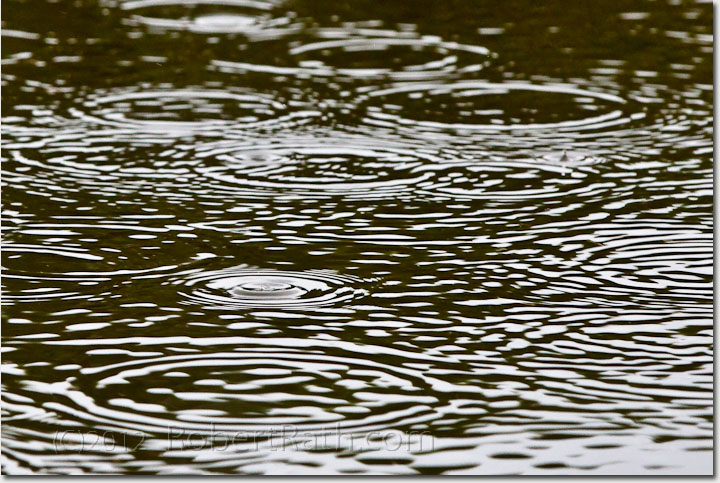
Have you ever wondered what noisy silence might be like? Well perhaps not quite silent but hardly noticed at first.
I was down by the river Torrens again today watching water birds and taking photos in the rain. It was not heavy rain and there was a busy stillness in the air. I could not put my finger on it at first, this feeling of business but as I sat and watched the scene about me became busier and visually noisier the longer I paid attention.
I started noticing the speed of the river beginning to burgeon with the extra flow. I started to notice the increased level of bird activity around me. Then I noticed the reflections on the water and the silent cacophony playing out as disturbed reflections on the surface caused ever increasing circles and interfering ripples.
Photo: Robert Rath, '366 Days of 2012, Day 61 - Silent Cacophony'. 1/250 sec at 165mm f/8.0, ISO 1600
Wednesday, February 29. 2012
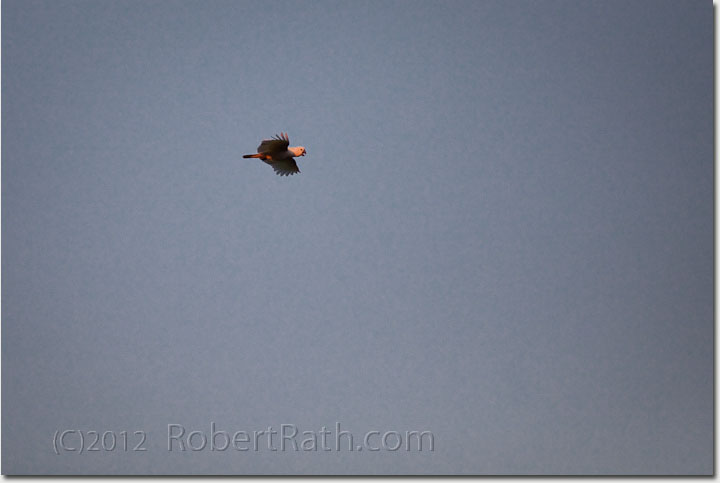
I'd thought the sunset was over when I looked into the sky above. This Long-billed Corella, Cacatua tenuirostris, showed me otherwise as the the last rays of sunset coloured his normally white plumage pink and orange.
Photo: Robert Rath, '366 Days of 2012, Day 60 - Last Rays of Sunset'. 1/6400 sec at 200mm f/2.8, ISO 1600
Tuesday, February 28. 2012
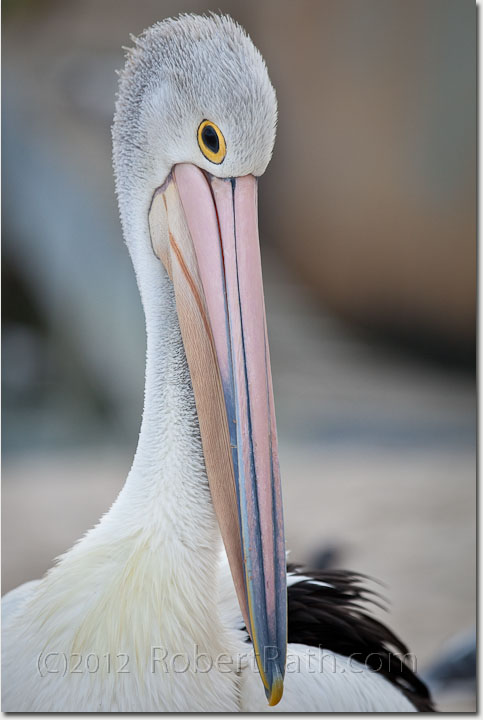
Many mornings I drive past the mouth of the River Torrens where I have often seen a a couple of fishermen surrounded by pelicans and other sea birds and wished I had my camera. This morning I finally remembered.
Today I witnessed the most amazing interaction between a man and a pelican. As he packed up to leave, a pelican who had been previously content to stand by and wait for the odd morsel became very animated. The pelican waddled around him, poked its beak into his bags and then into his jacket. In response the man playfully grabbed his beak and pushed him repeatedly away. This carried on for all the while the man and his other fishing companion took to leave the beach.
I did not get a good shot of the two interacting this time around but plan to try again soon. I did however get them chance to take some wonderful closeup images of these beautiful sea birds.
Photo: Robert Rath, '366 Days of 2012, Day 59 - Mr Percival'. 1/1250 sec at 200mm f/3.5, ISO 400
Monday, February 27. 2012
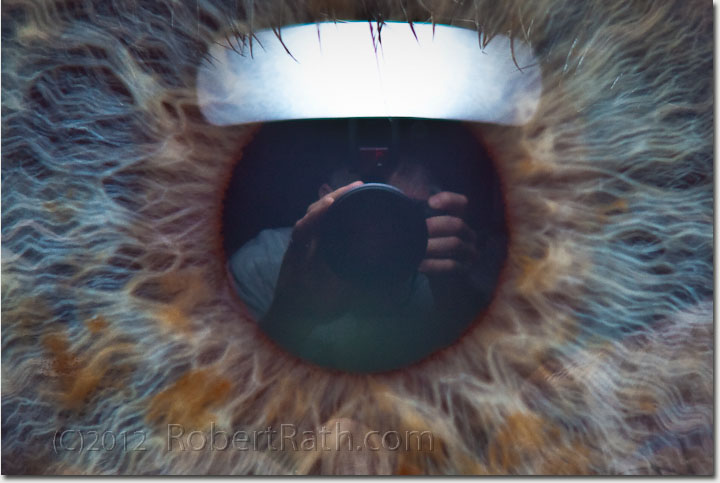
They say that the eyes are the window to the soul but when I look closely I just see myself!
There may indeed be some existential meaning to my observation but really the effect is quite ordinarily a simple reflection.
There are however some strange effects in this image of Jennifer's eye that I can't quite fathom. For example why is it that some of Jennifer's iris appears in focus in front of the reflection from the flash while the bulk is soft and behind? Also why is the virtual image of my reflection in focus but appears to come from inside the lens beyond the focal plane of the rest of the image.
I'm sure I'll work it out eventually but for now I just think it's a cool image.
Photo: Robert Rath, '366 Days of 2012, Day 58 - Eye to Eye'. 1/200 sec at 200mm f/10, ISO 400 + diffused strobe
Sunday, February 26. 2012
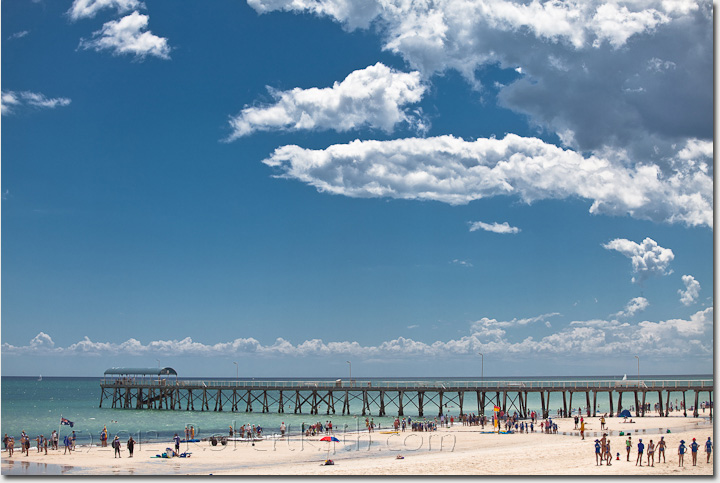
So close and yet so far away. A mere 15 minute walk down the road is all it takes to be at the beach and to enjoy the sand, the salt water and the sea air. So why then does it seem so far away and requires a special effort just to be down there!
I think the answer lies in the fact that it is so close and we see it all the time going about our lives. It's no longer important to make the effort to go to and spend time at the beach because it's too easy now.
I grew up in a country town far from the coast. The beach to me was a magical place and as a family we visited the coastal retreat of Port Parham twice a year, at Christmas and at Easter. They were wonderful times full of discovery, new friendships and family bonding. I look back at those times with a fondness hard to describe.
Many years later we now live so close to the sea in comparison and have so easy access that the once significant and epic adventure has been replaced by a casual taken for granted resource.
This image reminds me of how important it is to never lose sight of the beautiful places and experiences I have at my fingertips, to never take what is in my life for granted, to be grateful for all I have and most importantly to get out there and enjoy it all.
Photo: Robert Rath, '366 Days of 2012, Day 57 - Life's a Beach'. 1/2000 sec at 70mm f/4.0, ISO 100
Saturday, February 25. 2012
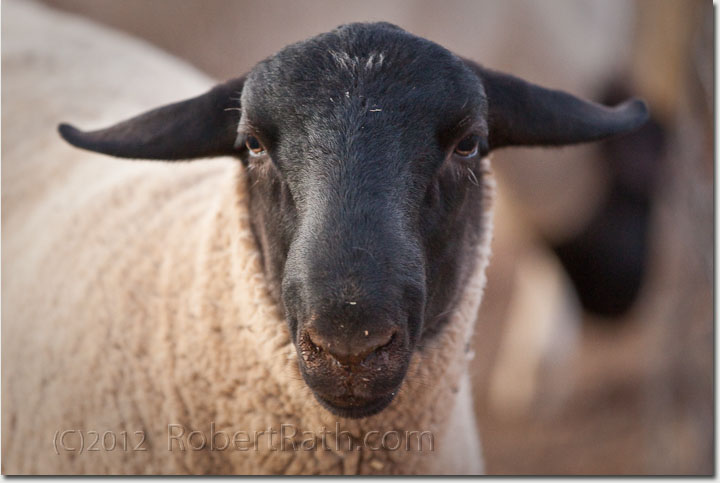
Most of us including me live most of our lives in cityscapes or urban sprawl. Sure we have parks and other pretty places to remind us there's more out there than concrete and steel but apart from birds we have these spaces pretty much to ourselves. So it comes as a wonderful surprise to find a little piece of rural country Australia in the middle of our hectic lives.
A number of Adelaide schools have great agriculture programs which include crop growing and the farming of livestock. Here at Unley High is one such place so I took the opportunity to capture some images juxtaposed with the surrounding urban jungle.
Photo: Robert Rath, '366 Days of 2012, Day 56 - Baa Baa Bad Boy'. 1/30 sec at 200mm f/2.8, ISO 2000
Friday, February 24. 2012
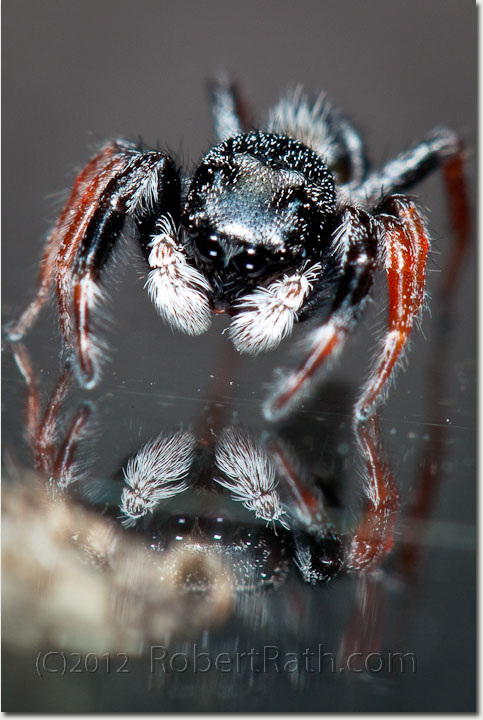
It's not the beautiful reflection in the glass that has captured this little jumping spider's attention. It's the moth safely on the other side.
I watched this little spider for quite some time as he stalked around in circles, dumbfounded as to the the reason the moth kept eluding him. I was half tempted to help him out for the sake of a photo and as he must be quite hungry given the shrunken size of his abdomen. At least the little moth is safe for today.
A brief attempt to identify him in nearly 5000 species of jumping spiders in Australia was overwhelming. Perhaps the genus Hasarius and wild guess at Hasarius adansoni (Adanson's House Jumper). I could be lucky!  .
Have a look for yourself at Salticidae, Jumping Spiders.
Photo: Robert Rath, '366 Days of 2012, Day 55 - Eensie Weensie Predator'. 1/200 sec at 200mm (macro) f/25, ISO 400 + Strobe
Thursday, February 23. 2012
 Photo: Robert Rath, '366 Days of 2012, Day 54 - Our Addiction'. 1/25 sec at 105mm f/4.0, ISO 200
Wednesday, February 22. 2012
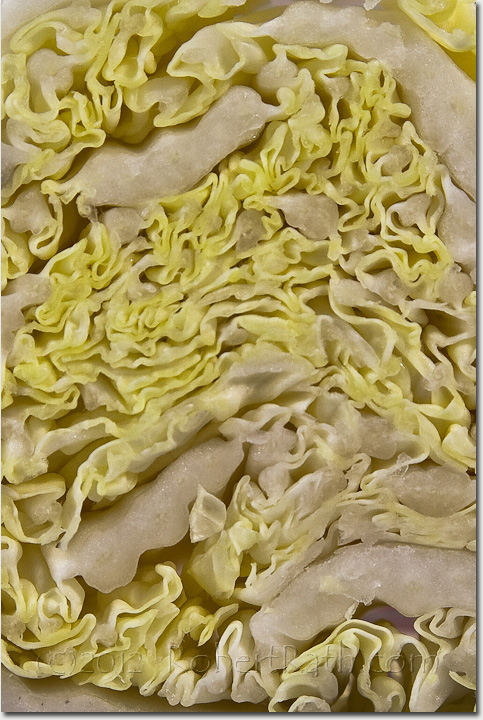 Photo: Robert Rath, '366 Days of 2012, Day 53 - Cabbagescape'. 1/4 sec at 105mm f/8.0, ISO 200
Tuesday, February 21. 2012
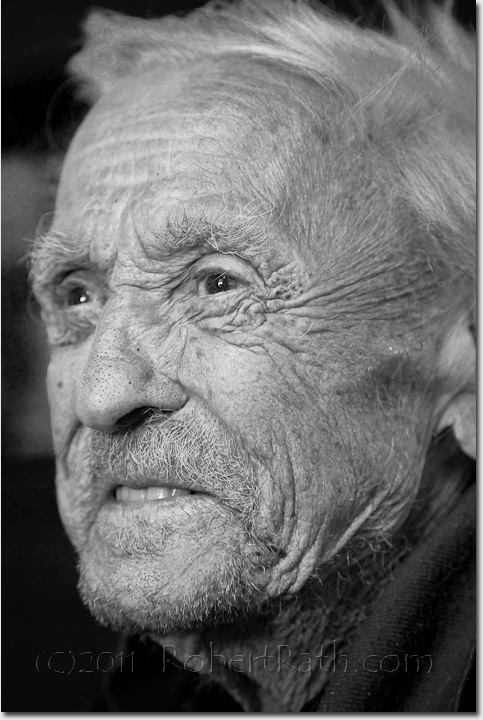
Johann "Hans" Rath 13.6.1925 ~ 15.2.2012
From Twelve Songs, by W. H. Auden
Stop all the clocks, cut off the telephone,
Prevent the dog from barking with a juicy bone,
Silence the pianos and with muffled drum
Bring out the coffin, let the mourners come.
Let aeroplanes circle moaning overhead
Scribbling on the sky the message He Is Dead,
Put crepe bows round the white necks of the public doves,
Let the traffic policemen wear black cotton gloves.
He was my North, my South, my East and West,
My working week and my Sunday rest,
My noon, my midnight, my talk, my song;
I thought that love would last for ever: I was wrong.
The stars are not wanted now: put out every one;
Pack up the moon and dismantle the sun;
Pour away the ocean and sweep up the wood.
For nothing now can ever come to any good.
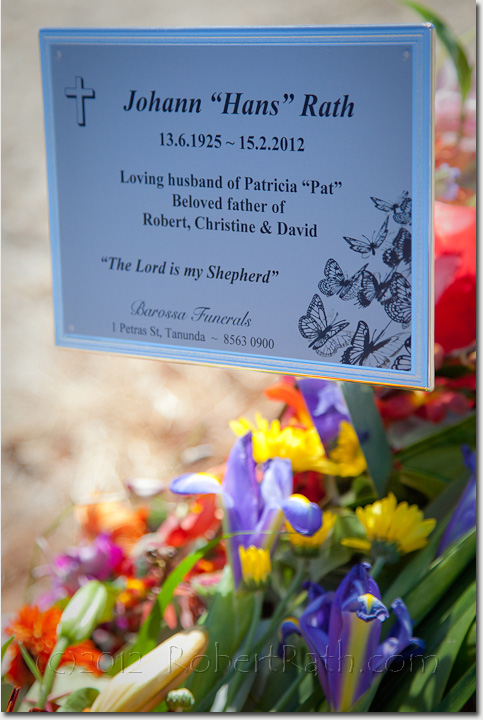
Johann (Hans) Rath
13th June 1925 – 15th February 2012
There are three words which come to mind when I think about our father and the life he experienced; ‘commitment’, ‘courage’ and ‘loyalty’.
As a child growing up in his home country Austria he put commitment to his parents and two sisters first. Getting up hours before sunrise to pick berries with his mother to earn extra income for the family was just one of the ways he told us of this. Those early years set the scene for a life rich in both the giving of himself and in his mischievous exploration of his world.
At 16 years of age he joined the German army at the beginning of the Second World War, an adventure which saw him battling the Allies in German-occupied Italy. Dad was always a gentle man and his role during combat was not to fight but to retrieve the killed and wounded from the field. However this did not make his role less dangerous than a combat soldier as he took shrapnel, which later had to be removed in hospital.
One story he recounted with a wry grin was coming face to face with an American soldier while on a lone reconnaissance mission. They both eyed each other up, neither wanting to make the first move. Dad simply informed the American soldier that he would turn around and leave. When he looked back over his shoulder the American was gone and Dad always believed the other soldier never gave him or his unit away.
In 1943 Dad’s unit found themselves in an impossible situation and gave themselves up to the Americans. There followed two years of being a prisoner of war in Africa and then in the USA. When the end of the war was finally announced it took another year before he returned to his hometown, Aschach, on his 21st birthday. In those six years his courage, commitment and loyalty were put to the test as he experienced a world none of us would wish on anyone.
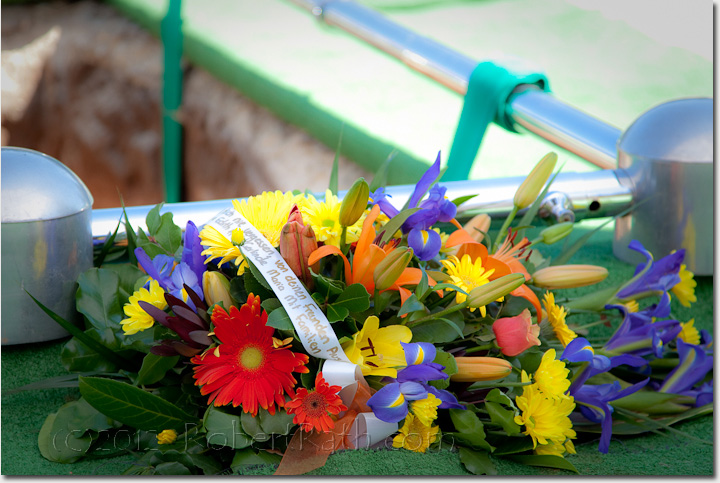
Soon after Dad turned 30 he made a courageous commitment to a new life abroad, with four countries in his sights: the USA, Canada, Australia and New Zealand. Australia got lucky – or at least their paperwork came through first! I like to believe the first and Dad found himself here in 1956 with thousands of other European migrants starting new adventures for themselves.
In his first year here Dad worked in Bonegilla, Wodonga, Glenelg and finally Tanunda where he met our Mum and, to use his words, ‘I got caught!’
Together the two of them worked hard and played hard, with Dad becoming very involved in the Barossa Angling Club and pursuing his love of fishing and butterfly collecting, while Mum pursued her netball. Eventually Dad decided the only way to drag Mum away from the netball was a trip back to Austria where they married in 1960. They then spent the following three years back in Australia working hard in preparation to immigrate back to Austria in 1963. Back in Austria again, the two of them built with their own hands a new home in Dad’s original hometown, Aschach.
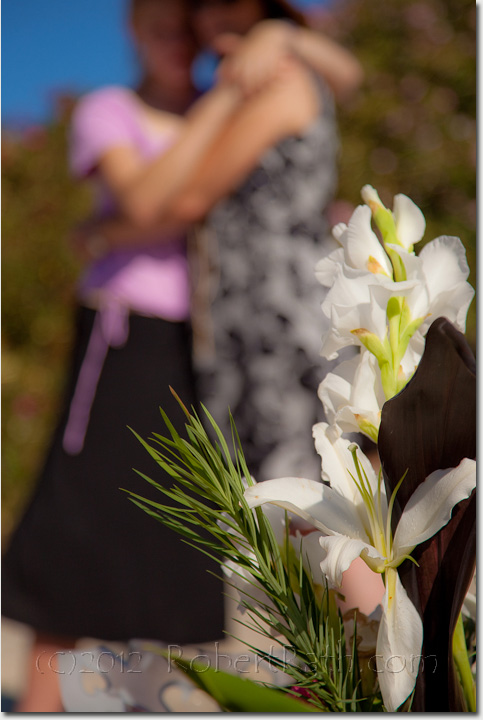
I was born in Aschach and my sister Christine was conceived there, but we were never to be raised Austrian as Mum and Dad returned to Australia to care for Mum’s ailing mother back here in Tanunda.
That was then the end of Dad’s travels as soon my brother David appeared on the scene and the commitment and demands of raising a family became the priority.
Perhaps the need for courage was over for a while, but Dad’s commitment and loyalty to his family was never more evident that the years of 7am workday starts, breakfast in bed for Mum every morning and family holidays at Parham with plenty of fishing.
Our Dad worked very hard his entire life to ensure that we had more opportunities in our lives than he did. He was unstoppable, still doing the odd bit of building work for people into his seventies.
Dad’s last years with us really demonstrated that the courage he had needed early in his life was just as strong as ever. His gritty determination in learning to walk again after losing his right leg was as courageous as it comes, and that mischievous twinkle in his eyes was wonderful as he showed off and played up how quickly he overcame each obstacle.
Dad’s legacy to us is not just having given us a life of wonderful opportunities. It is also being privileged to know his amazing life’s story, his gritty courage and the commitment and loyalty to us, his family. Thank you Dad for these wonderful gifts, we are blessed to be your family.
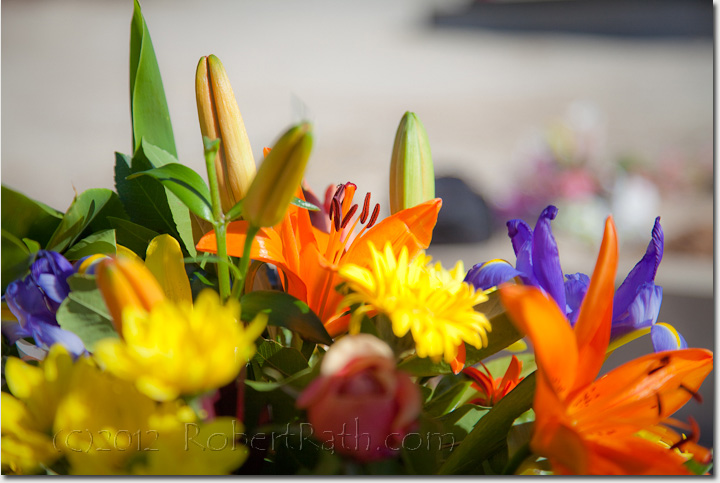
May you rest in peace and be remembered with love.
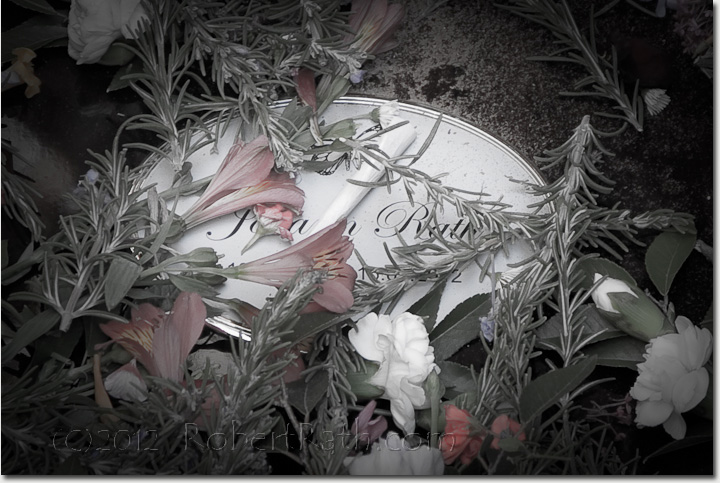 Photo: Robert Rath, '366 Days of 2012, Day 52 - Farewell Dad'. 1/40 sec at 105mm f/4.0, ISO 200
Monday, February 20. 2012
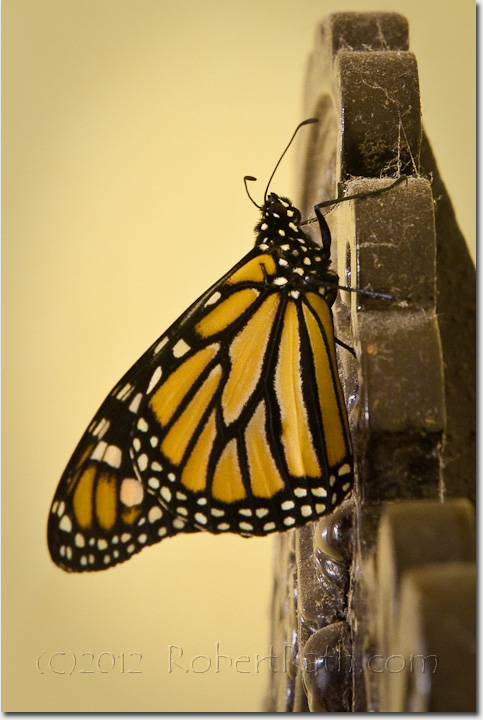
Back on day ' Day 44 - Metamorphosis' I photographed a beautiful green and gold chrysalis.
With the metamorphosis now complete, this gorgeous Monarch butterfly is a wonderful symbol of new life as he rests upon the old clock of ' Day 46 - The End of Time'
Photo: Robert Rath, '366 Days of 2012, Day 51 - Brand New Day'. 1/2 sec at 200mm f/11, ISO 2000
Sunday, February 19. 2012
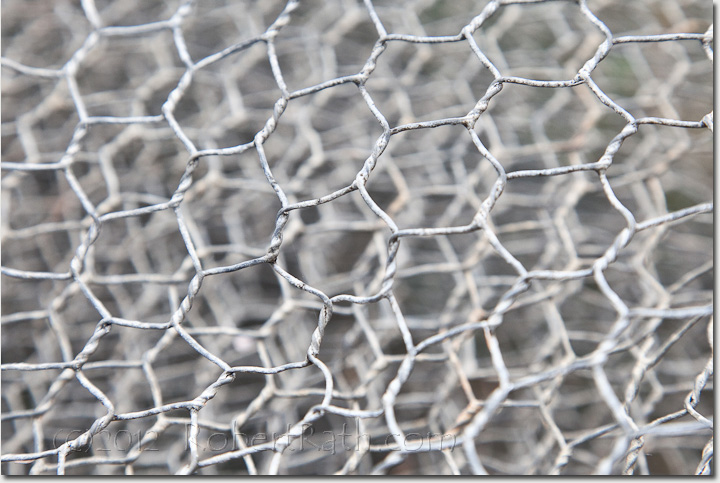
This roll of wire has been lying in the yard of my parents home for years. I'm not sure if it will ever serve the reason for it being brought here but today it reminds me of the beauty in geometry.
Just like honeycomb the hexagons pack both in plane and in depth and the camera serves to separate them.
Photo: Robert Rath, '366 Days of 2012, Day 50 - Chicken Wire'. 1/160 sec at 96mm f/7.1, ISO 500
|