The examples given are with and without an existing swap volume and will use an Ubuntu Live CD ISO as the surrogate.
root@ubuntu:~# lsblk
fdisk /dev/sda # open sda in 'fdisk'
Simple Single Volume
In this example we will expand the entire disk from 32GB to 64GB.
cryptsetup luksOpen /dev/sda5 target    # use the LUKS password to decrypt sda5

vgscan --mknodes && vgchange -ay        # Identify and activate the LVM.

cryptsetup resize target                # Resize the crypt

pvresize /dev/mapper/target             # Resize the volume group

pvchange -x y /dev/mapper/target        # unlock the (LVM) physical volume.

lvresize -r -L+32G /dev/xubuntu-vg/root # increase our root volume by in this case 32GB, resizing (-r) the underlying filesystem

vgdisplay                               # find out how much space is now available in our volume group

pvchange -x n /dev/mapper/target        # re-lock the physical volume

shutdown -h now                         # we are done with the Live CD so.
Include A Swap File
In this example we will expand the entire disk from 32GB to 64GB moving an existing swap file of 4GB to the end of the drive.
cryptsetup luksOpen /dev/sda5 target                         # use the LUKS password to decrypt sda5

                                                             # the system may automatically mount sda and the logical volumes

                                                             # inside target_encrypted_volume. If so unmount them.

vgscan --mknodes && vgchange -ay                             # Identify and activate the LVM.

cryptsetup resize target                                     # Resize the crypt

pvresize /dev/mapper/target                                  # Resize the volume group

lvdisplay                                                    # Use 'lvdisplay' to identify the target volumes for managing

lvremove /dev/xubuntu-vg/swap                                # remove our swap volume, it is in the way.

pvchange -x y /dev/mapper/target                             # unlock the (LVM) physical volume.

lvresize -r -L+32G /dev/xubuntu-vg/root                      # increase our root volume by in this case 32GB, resizing (-r) the underlying filesystem

vgdisplay                                                    # find out how much space is now available in our volume group

lvcreate --extents 1024 -n /dev/xubuntu-vg/swap   xubuntu-vg # Create a new volume (516 comes from finding the available 'logical extents' in the group using 'vgdisplay'). Remove Swap signature

pvchange -x n /dev/mapper/target                             # re-lock the physical volume (may be redundant)

mkswap /dev/xubuntu-vg/swap                                  # make the new 4GB volume a swap volume. Copy the UUID to the clipboard.

lvdisplay                                                    # Use 'lvdisplay' to check our new volumes look good.

lsblk                                                        # final sanity check

shutdown -h now                                              # we are done with the Live CD
References Used
https://linux.die.net/man/8/lvcreate
http://www.systemadminihater.com/linux/split-a-lvm2-volume-group-into-two-or-more/
http://www.thegeekstuff.com/2010/08/how-to-create-lvm
https://linux.die.net/man/8/lvresize
http://tldp.org/HOWTO/LVM-HOWTO/removelv.html
https://help.ubuntu.com/community/ResizeEncryptedPartitions
http://askubuntu.com/questions/63594/mount-encrypted-volumes-from-command-line


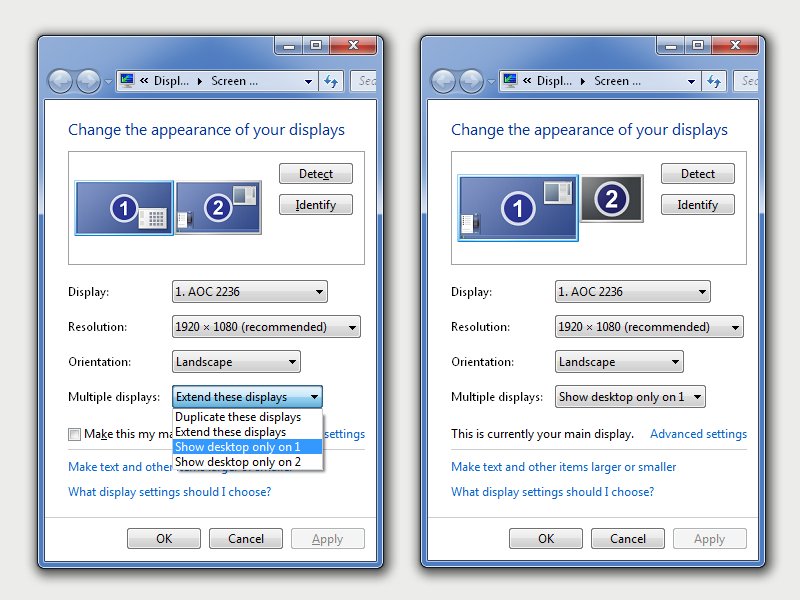
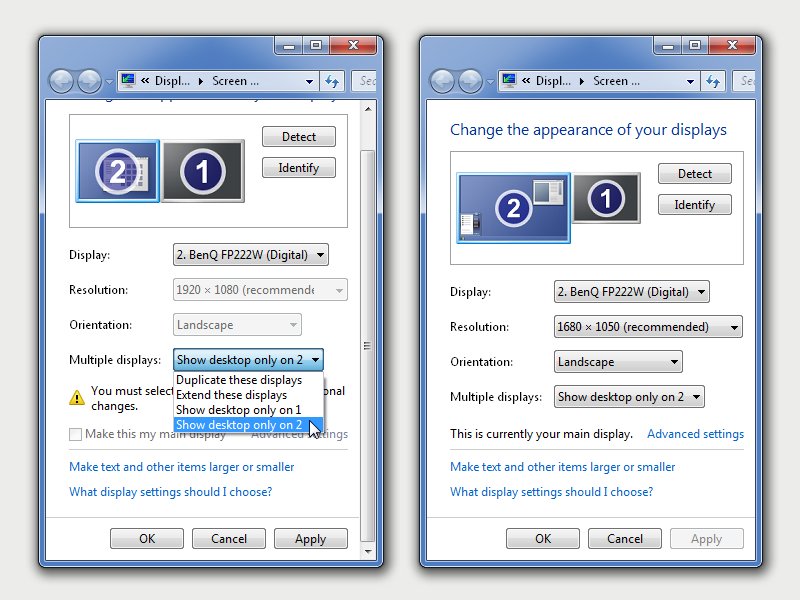
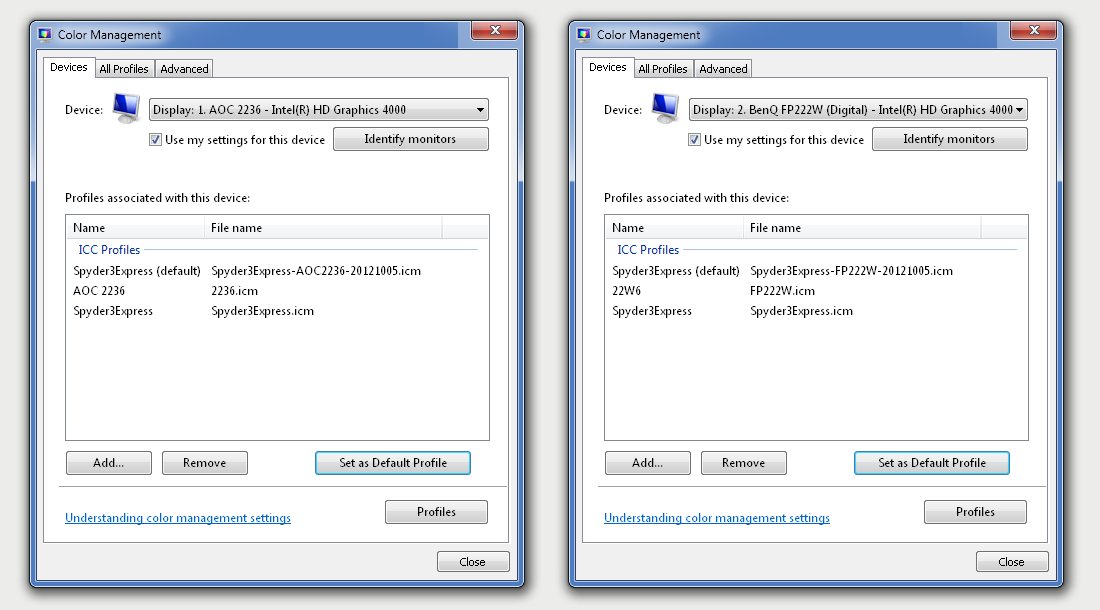
 I have been using my trusted Spyder3 Express in a WindowsXP environment for a few years now to calibrate my monitors and ensure consistent colour and tone rendering between computers. Recently however I upgraded to a new Windows7 dual monitor desktop and officially the Spyder3 Express no longer worked for me.


 Prior to attempting to run my 'Pi at 1000Mhz I decided it would be a good idea to backup the entire machine.
 Added tightvnc for headless GUI.


